Introduction to Web Launcher
The Web Launcher is comprised to two parts, the Launcher Server, and Launcher Clients (Machines).
This guide is meant to help navigate the Launcher Server to setup a Cluster with Machines to run the cluster.
The Launcher is still a work in progress and there are several known issues/limitations, as such we do not recommend it is used right now for player populated live servers.
Contents
Launcher Machine
A Machine is the client aspect to the Launcher Server, it is a NodeJS application that manages your ShardsServer regions. It can run plugins (custom as well) and all code distributed with this portion remains open and commented.
Creating Machine
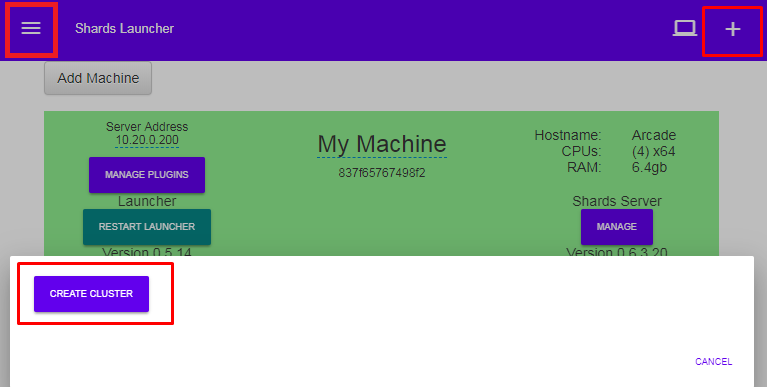
When you first enter the Launcher Web application, you should be presented with the machines page. If not, please click the small computer screen icon in the top right corner.
Then click Add Machine.
The Machine can be renamed at this point if you choose
Machine Setup
Download Setup, this program will install all dependencies for ShardsServer and Launcher (VS 2013 C++ runtime, Net 4.5, NodeJS 8.11) and setup the launcher application. It does not require Administrative privileges though each dependency installation will. You can manually fetch and install each dependency yourself before hand and setup will detect and skip those steps.
The folder must not require Admin to edit. For example C:\Program Files\Launcher will not work since Admin is required to modified files in that path.
The file name is used as a source of information for the setup, please keep the file named as presented.
Install ShardsServer
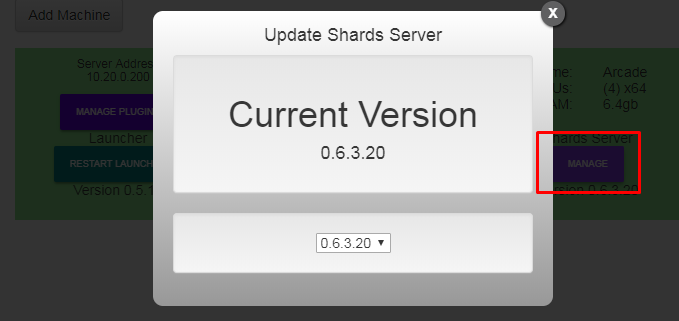
Now that the Machine is online, there will be a button for ShardsServer letting you know an update is available. Install the version of your choice. The version in the picture is from internal testing so don't expect your version numbers to match exactly.
Creating Cluster
Click the + icon in the top left corner, then press Create Cluster, and confirm. When done, you can open the side menu from the top right icon and select your cluster.
Configure Cluster
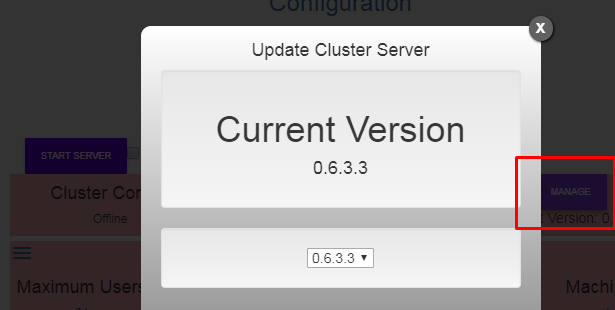
First assign the provider (Currently there is only one cluster provider but this will expand over time)
Then install a matching version cluster. (First three version numbers match)
Configure Your Server
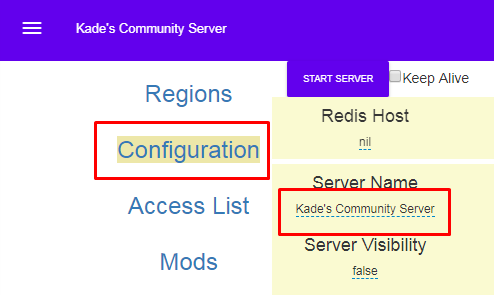
Optionally you can go to Configuration > Server Name to change the name of your Cluster Server and how it's displayed on the server list and inside Launcher Web
Start Your Server
Press the Start Button!


